How do I winterize my house? Checklist for Homeowners
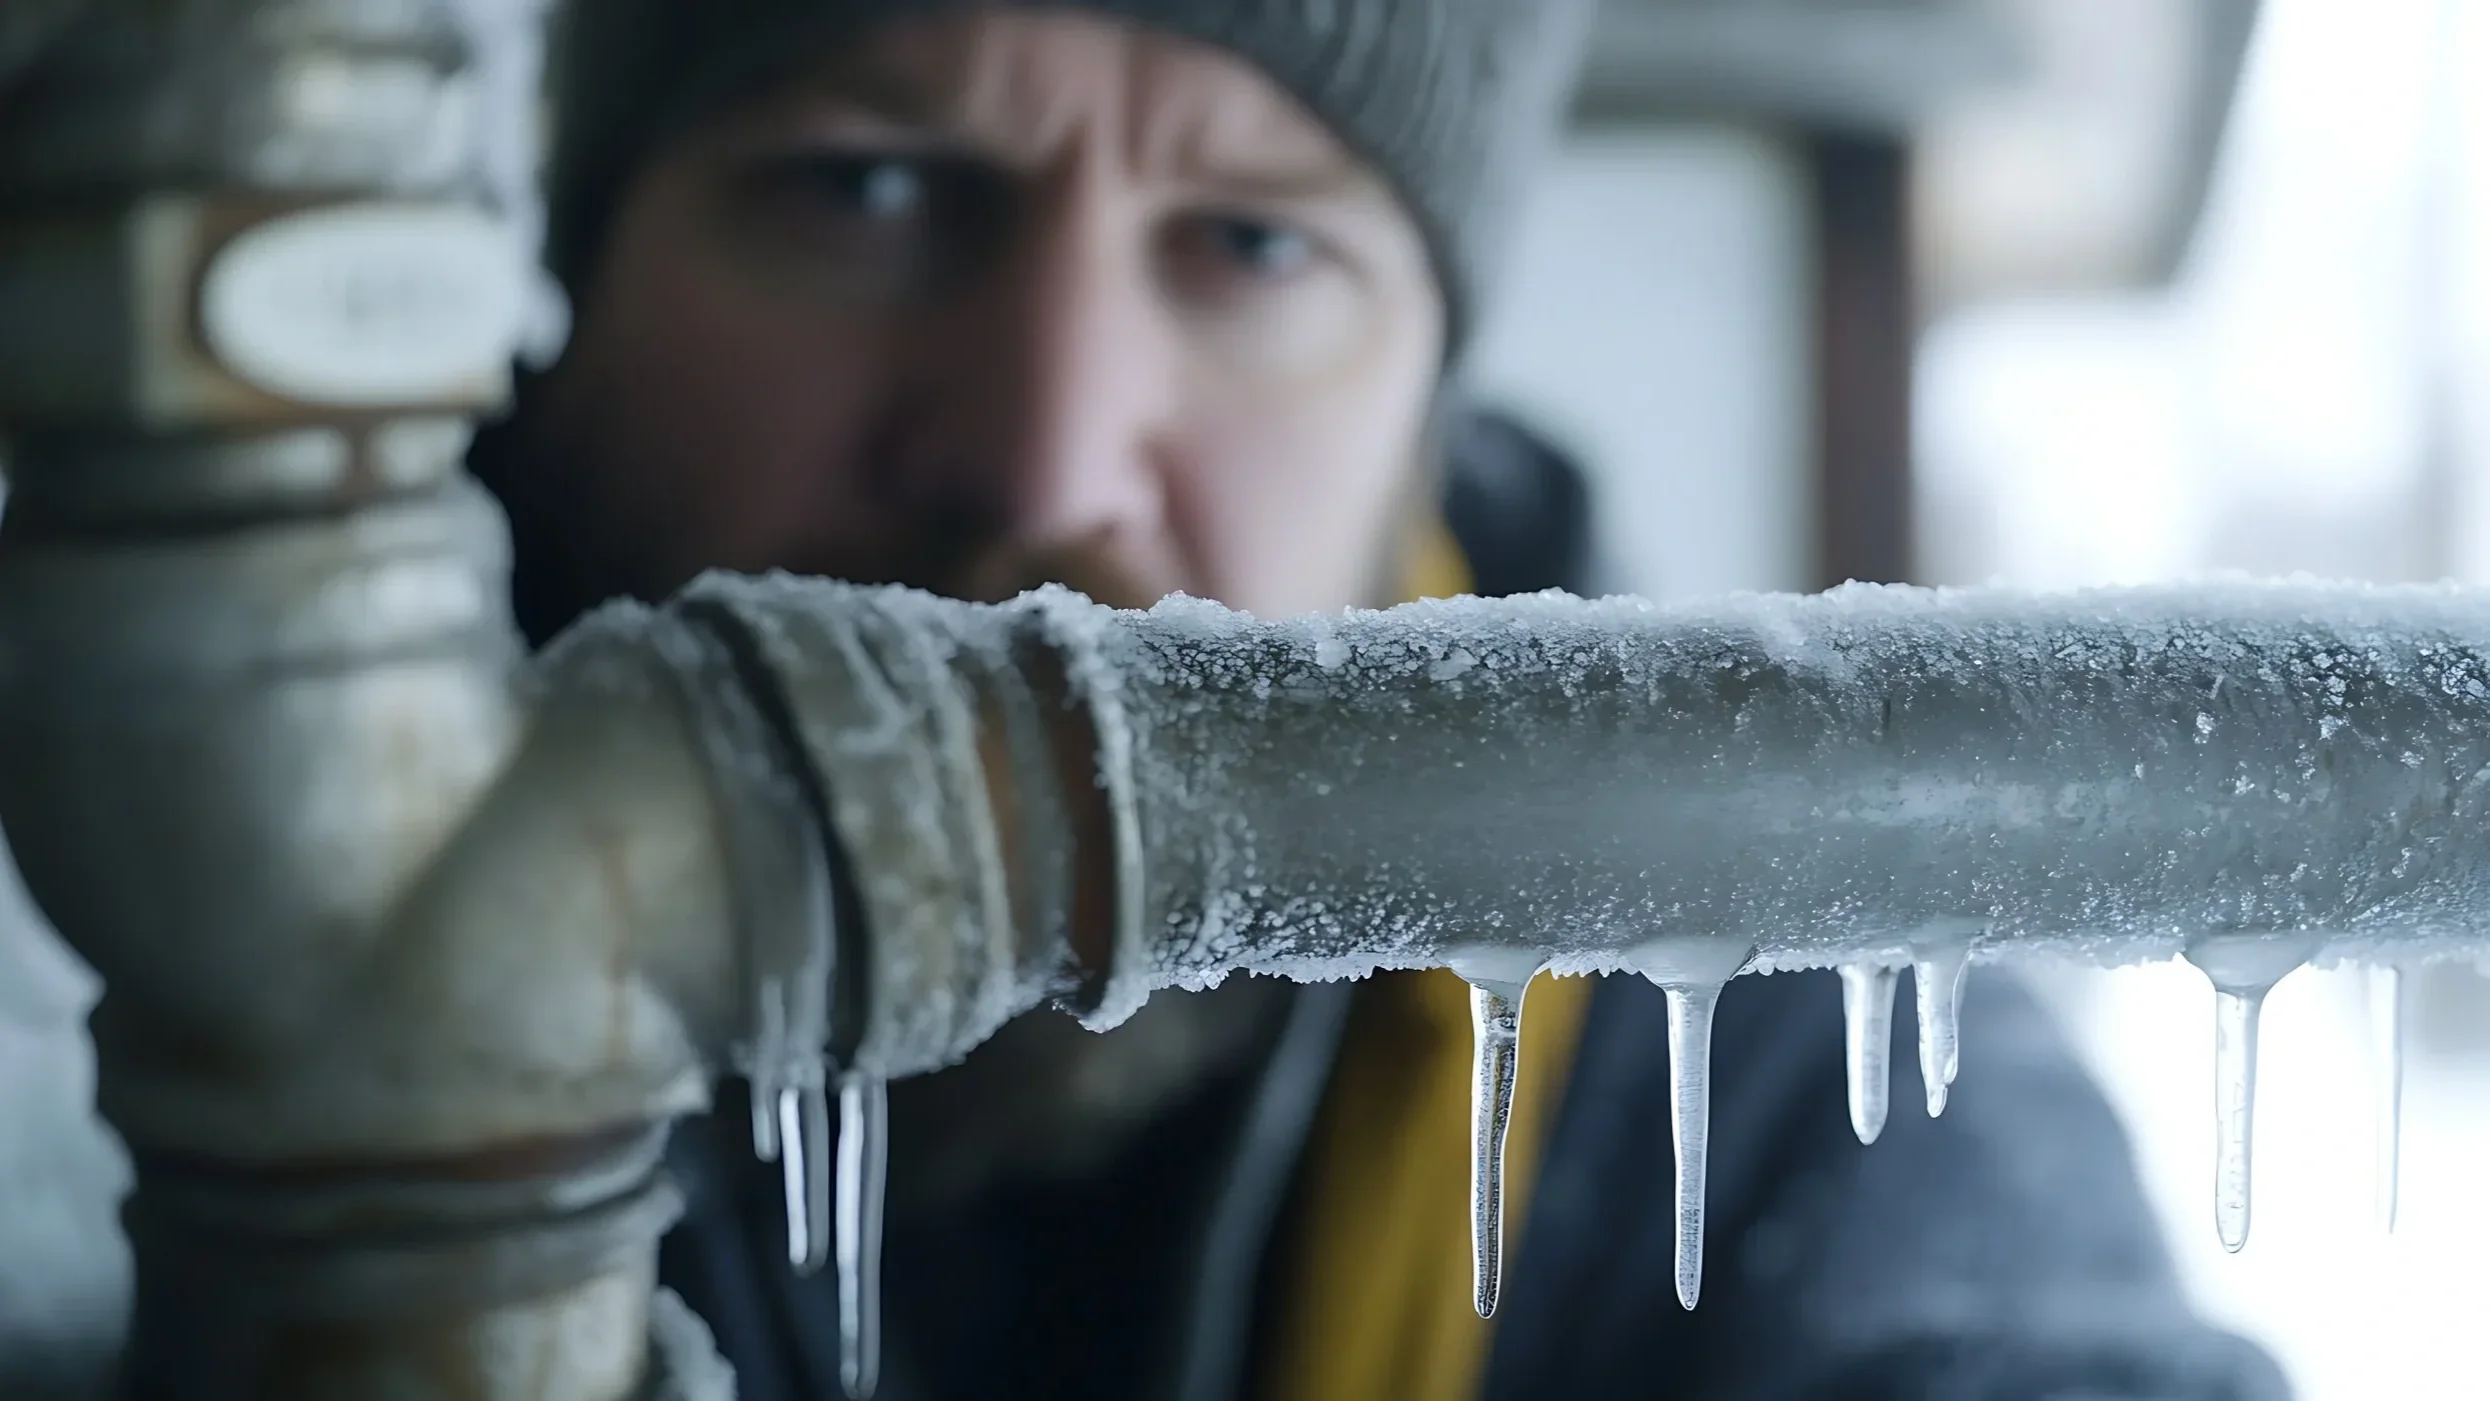
You wake up to a 28°F morning in Chicago. You rush to turn on the kitchen faucet. Nothing happens. Your pipes froze overnight.
This nightmare is avoidable with the right winterization steps.
According to the Insurance Institute for Business & Home Safety, frozen pipe damage costs homeowners an average of $5,000 per incident. That's money most families can't afford to lose.
This guide breaks down exactly what needs to be done to winterize a house, from essential DIY tasks to when you should call in a professional.
We'll walk through the must-do checklist, cover temperature triggers, explain DIY vs. professional tasks, and help you understand typical costs so you can protect your home before winter damage strikes.
What Needs to Be Done to Winterize a House?
Essential winterization steps include:
Drain outdoor faucets and sprinkler systems to prevent frozen pipes
Insulate exposed pipes in attics, basements, and crawl spaces
Service your heating system with professional inspection and filter replacement
Seal windows and doors to eliminate drafts and reduce heating costs
Clean gutters and downspouts to prevent ice dams
Check attic insulation (minimum R-30 in cold climates)
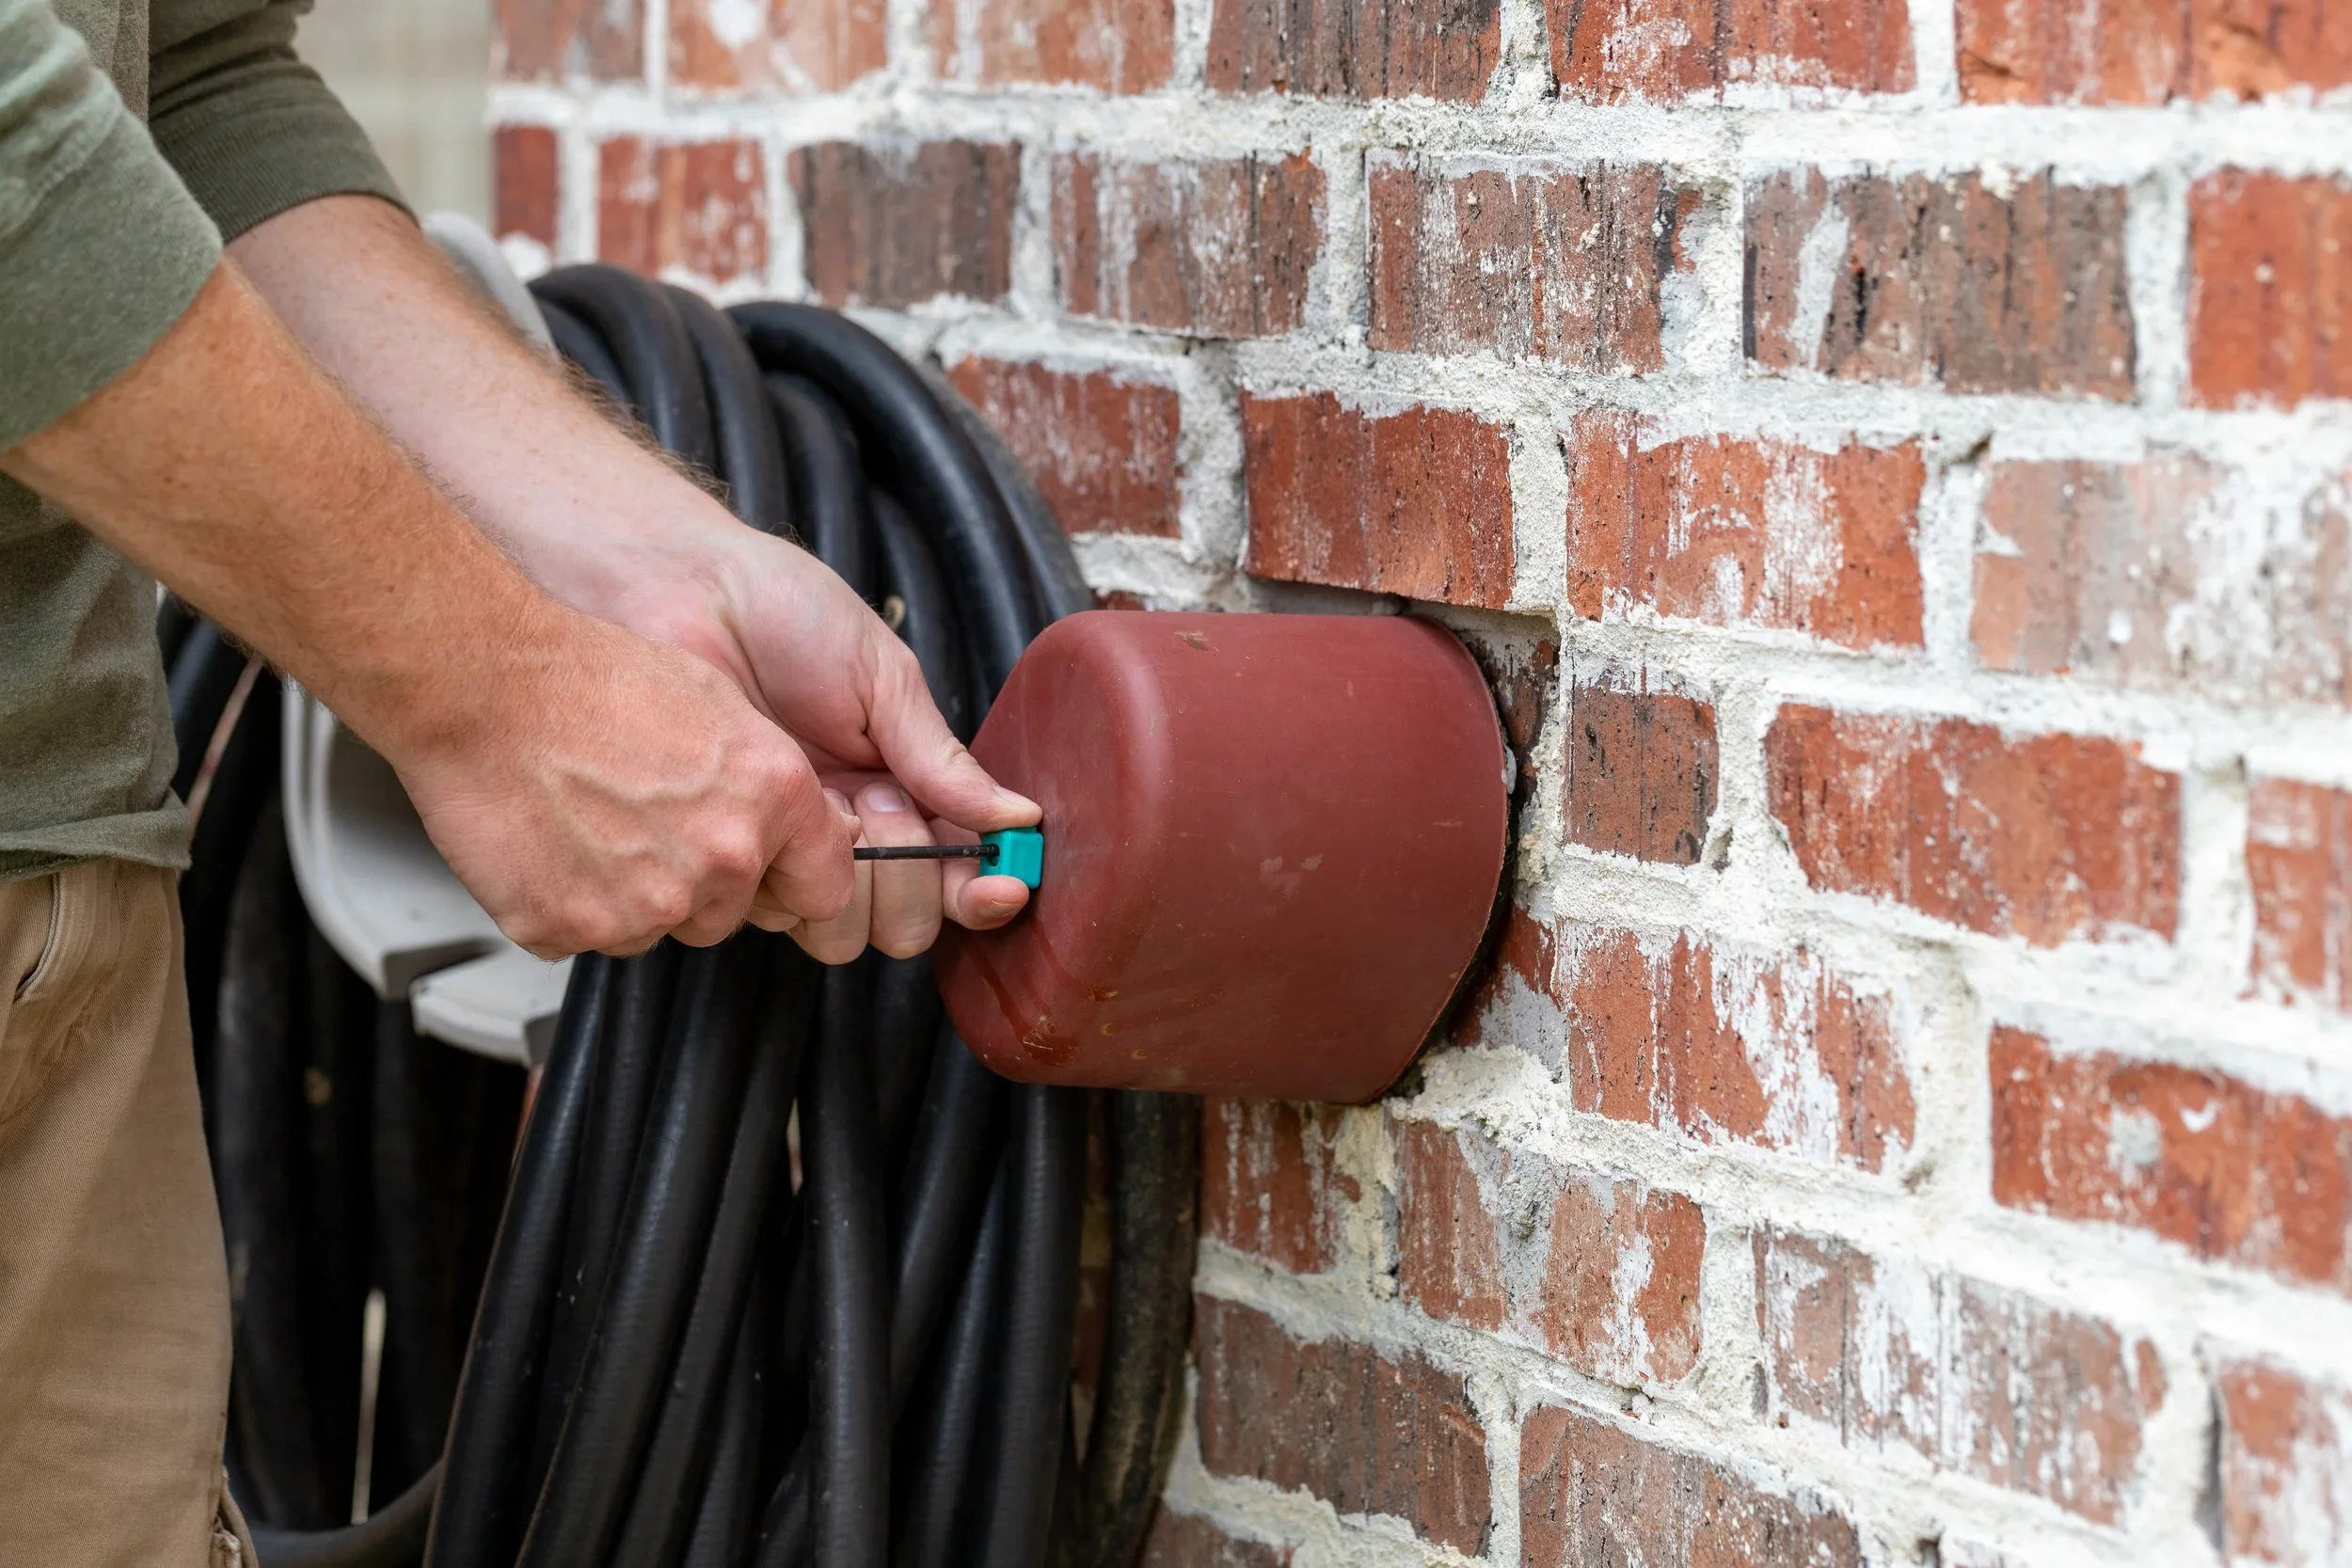
Disconnect garden hoses and install faucet covers
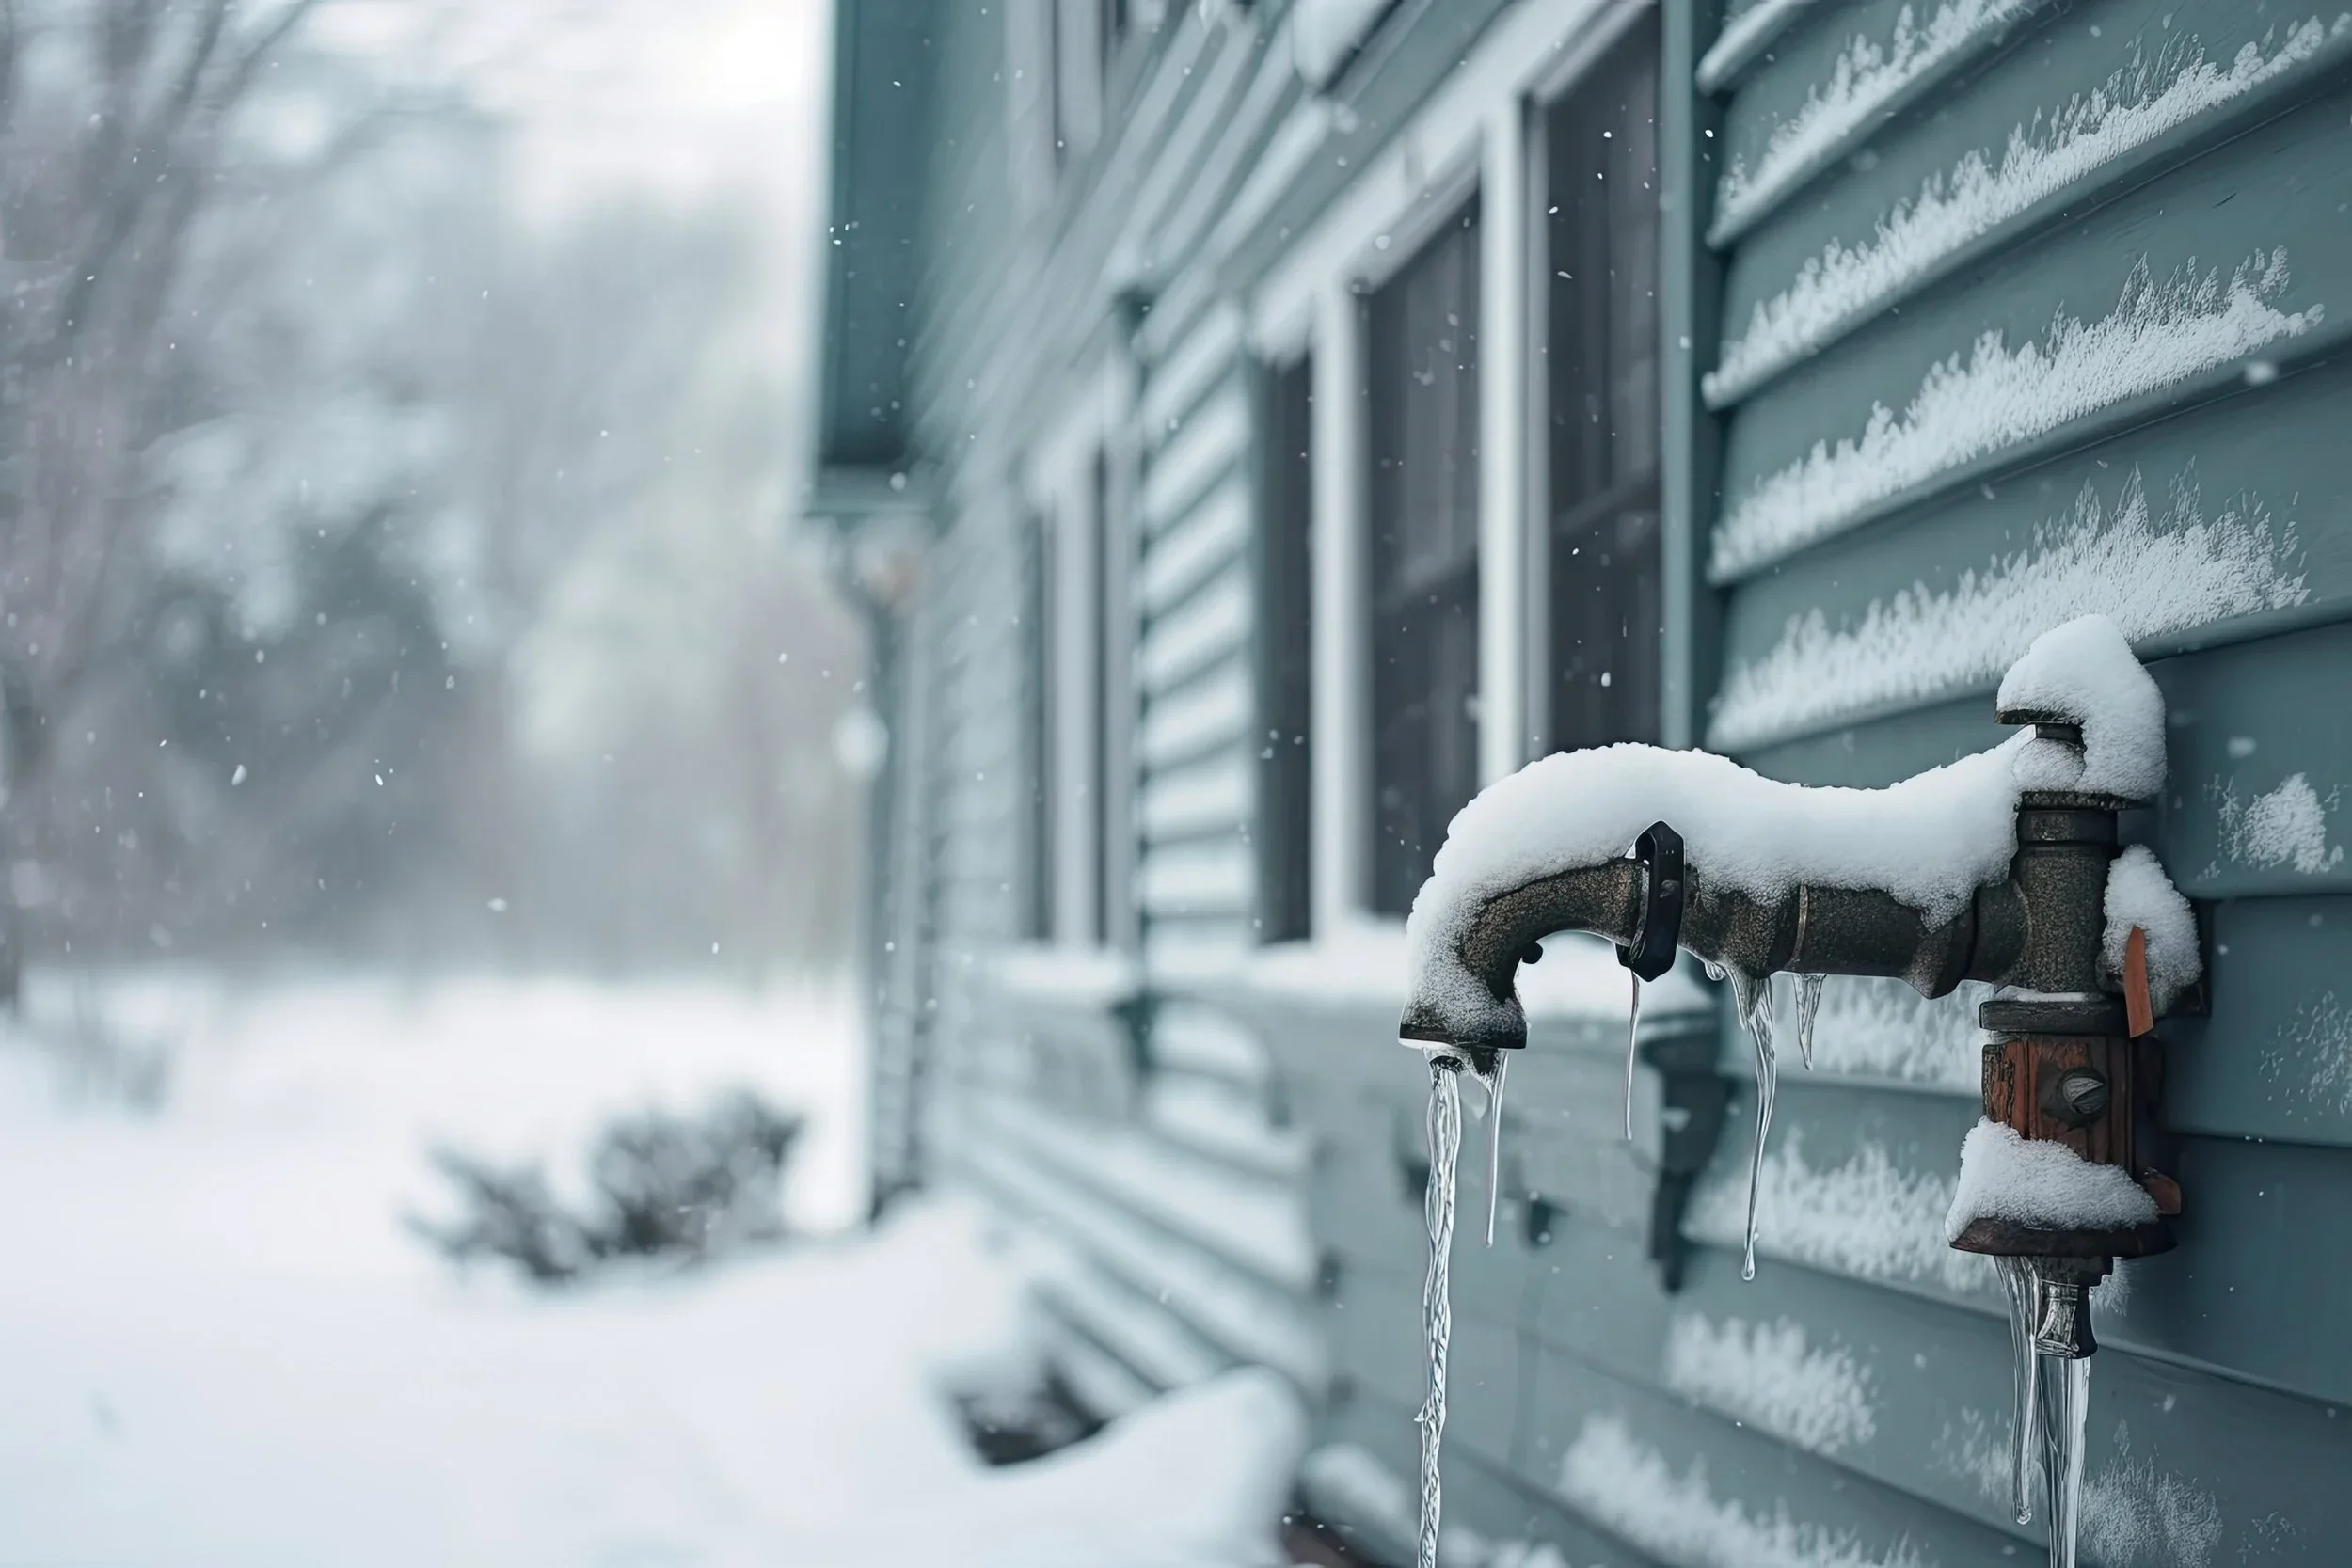
Start winterization when nighttime temperatures consistently drop below 40°F. Complete pipe protection before temperatures reach 32°F.
Why Winterizing Your House Matters (And What Happens If You Don't)
Skipping winterization puts your home at serious risk.
Frozen pipes are the biggest threat. When water freezes inside pipes, it expands. This creates pressure that can burst pipes and flood your home. The Insurance Institute for Business & Home Safety reports that frozen pipe damage costs homeowners an average of $5,000 per incident.
Poor winterization also wastes energy. Drafty windows and doors force your furnace to work harder. According to the U.S. Department of Energy, air leaks can increase heating costs by 10-20% each winter.
Ice dams form when warm attic air melts snow on your roof. The water refreezes at the roof edge and backs up under shingles. This causes roof leaks and water damage inside your home.
Neglected HVAC systems fail when you need them most. A furnace that hasn't been serviced can break down during a cold snap. Emergency repairs during winter cost more than preventive maintenance.
Proper winterization protects your investment and prevents emergency repair bills.
Complete House Winterization Checklist: Exterior Tasks
Start outside before the first freeze hits Chicago.
Drain and disconnect outdoor water sources:
Turn off outdoor faucet shut-off valves inside your home
Open outdoor faucets to drain remaining water
Disconnect all garden hoses and store them indoors
Install foam faucet covers on exterior spigots
Protect your foundation and drainage:
Inspect foundation for cracks and seal them with masonry caulk
Clean gutters and downspouts completely
Make sure downspouts direct water at least 6 feet from your foundation
Consider gutter guards if leaves clog your system regularly
Inspect and protect your roof:
Check for damaged or missing shingles
Seal any gaps around roof flashing
Look for gaps around chimney and vents
Clear debris from roof valleys where snow accumulates
Trim and store outdoor items:
Cut back tree branches hanging over your roof or near power lines
Store or cover outdoor furniture
Cover your grill and move it away from the house
Install a cover over window air conditioning units
These tasks take 2-3 hours for most Chicago homes. Do them before temperatures drop below 40°F at night.
Interior Winterization Steps: Plumbing, HVAC, and Insulation
Indoor tasks protect your pipes and lower heating bills.
Insulate vulnerable pipes:
Wrap exposed pipes in unheated spaces with foam pipe insulation (minimum R-3 rating)
Focus on attic pipes, basement pipes, and crawl space pipes first
Pay special attention to pipes along exterior walls
Use heat tape on pipes in areas that stay below 40°F
In our experience helping Chicago homeowners, crawl space pipes freeze first. They're closest to exterior walls and often forgotten during winterization.
Service your heating system:
Schedule a professional HVAC inspection before winter starts
Replace furnace filters (do this monthly during winter)
Test your thermostat to make sure it works correctly
Bleed radiators if you have a hot water heating system
Check that all heating vents are open and unblocked
Seal air leaks:
Apply weatherstripping to doors and windows
Caulk gaps around window frames
Add door sweeps to exterior doors
Seal gaps around pipes entering your home
Check attic hatches and add weatherstripping if needed
Check your insulation:
Inspect attic insulation depth (should be R-30 to R-60 for Chicago climate)
Add insulation if you can see floor joists through existing insulation
Insulate the attic door or hatch
Consider basement rim joist insulation to stop drafts
Maintain your water heater:
Drain sediment from the tank bottom
Check temperature setting (120°F is safest and most efficient)
Insulate the water heater tank if it's in an unheated space
Insulate hot water pipes leaving the tank
These tasks protect your home from the inside out. Most take a full weekend to complete properly.
Can I Winterize My Own House? DIY vs. Professional Tasks
You can likely handle about 60% of winterization tasks yourself. Some jobs require professional help.
DIY-friendly tasks:
Draining outdoor faucets and disconnecting hoses
Installing weatherstripping on doors and windows
Cleaning gutters and downspouts
Replacing furnace filters
Wrapping accessible pipes with foam insulation
Sealing window gaps with caulk
Installing faucet covers
These tasks need basic tools. Most homeowners complete them in 6-8 hours total.
Tasks requiring professional help:
HVAC system inspection and tune-up
Complex pipe insulation in tight crawl spaces
Sprinkler system blowout (requires compressed air equipment)
Attic insulation installation
Electrical work around heating systems
Gas line checks and furnace repairs
Safety considerations matter:
Ladder work on roofs risks falls
Crawl spaces can have poor air quality
Gas furnaces need professional service to prevent carbon monoxide leaks
Electrical heating systems should only be serviced by licensed electricians
Time investment comparison:
DIY full winterization: 6-8 hours spread over a weekend
Professional service: 2-3 hours with a crew
Professionals catch problems you might miss. During inspections, we often find homeowners missed pipes in crawl spaces or didn't seal critical air leaks around the foundation.
Not sure where to start or which tasks you should tackle? A professional assessment shows you exactly what your home needs.
Winterization Temperature Guide: When to Take Action
Timing matters when winterizing your Chicago home.
Start your checklist at 40°F: Begin winterization tasks when nighttime temperatures consistently drop below 40°F. In Chicago, this typically happens in late October or early November.
Critical deadline at 32°F: Complete all pipe protection before temperatures reach 32°F. Water freezes at this temperature. Unprotected pipes can burst overnight.
Freeze risk increases at 20°F: Pipe freeze risk increases significantly when temperatures drop to 20°F or below. Even insulated pipes in unheated spaces can freeze at this temperature.
Regional considerations for Chicago:
North Side neighborhoods near the lake stay warmer longer
South Side and western suburbs see earlier freezes
Older homes with less insulation need earlier protection
Homes built before 1980 often have more vulnerable pipes
Missed the window? Emergency measures: If temperatures drop before you finish winterizing:
Let faucets drip slowly overnight (hot and cold water)
Open cabinet doors under sinks to let warm air reach pipes
Keep your thermostat at 55°F minimum, even when you're away
Add temporary pipe insulation to the most exposed pipes first
Chicago weather changes quickly. A warm November can turn into a sudden freeze. Start early to avoid emergency situations.
Average Cost to Winterize a House (and How Plumbers Help)

Winterization costs depend on whether you DIY or hire professionals.
DIY material costs: Basic winterization supplies cost $50-$200 for most homes:
Pipe insulation foam: $20-$40
Weatherstripping tape: $15-$30
Caulk and sealant: $10-$25
Faucet covers: $5-$15
Furnace filters: $10-$30
Professional winterization service: Full-service winterization costs $150-$400 depending on home size and scope. This typically includes:
Complete pipe inspection
Pressure testing water systems
Professional drain-down service
Valve checks and adjustments
Identification of vulnerable areas you might miss
Sprinkler system winterization: Irrigation blowout service costs $75-$150. This prevents thousands in sprinkler line damage.
What professionals provide: Licensed plumbers perform full property walk-throughs. We've seen homeowners spend $300 on DIY supplies but still miss critical pipe sections. Professional service catches everything in one visit.
Our winterization service includes:
Inspection of all exposed and hidden pipes
Testing shut-off valves
Checking for existing leaks or weak points
Drain-down of outdoor systems
Recommendations for insulation improvements
Cost comparison:
$200 winterization service vs. $5,000+ frozen pipe repair
$150 sprinkler blowout vs. $2,000+ sprinkler line replacement
$300 professional service vs. 8 hours of your weekend time
The value in professional service comes from experience. We know where Chicago homes fail during winter. We catch problems before they become expensive emergencies.
Need help winterizing your Chicago home this season? Contact a local professional who can assess your specific needs and protect your property before the first freeze.
Or Skip Winterization Entirely—We Buy Vacant Houses As-Is
Tired of ongoing maintenance costs for a vacant property? Winterization is just one expense—you'll still face spring reopening costs, summer lawn care, property taxes, insurance, and potential code violations.
Dello Investments buys vacant houses for cash in Chicago—no winterization required. We purchase properties in any condition, handling all the headaches while you walk away with cash. No repairs, no seasonal maintenance, no waiting through multiple winters hoping for a buyer.
The math: $200-800 for winterization + $200-400 for spring reopening + $1,200+ annual property taxes + $800+ annual insurance = $2,400-3,200 per year just to keep the house sitting empty.
Better option: Get your cash offer in 24 hours and close in 7-14 days. Call (312) 975-5557 or get your cash offer here.
Disclaimer: This article provides general educational information only and is not professional advice. Winterization tasks involving gas lines, electrical systems, plumbing, or working at heights can be dangerous. Always consult licensed professionals (plumbers, HVAC technicians, electricians) for work beyond your skill level or when required by local codes. Follow all manufacturer instructions and safety guidelines. Dello Investments assumes no liability for damages, injuries, or losses resulting from use of this information. Homeowners are responsible for ensuring all work complies with local regulations.